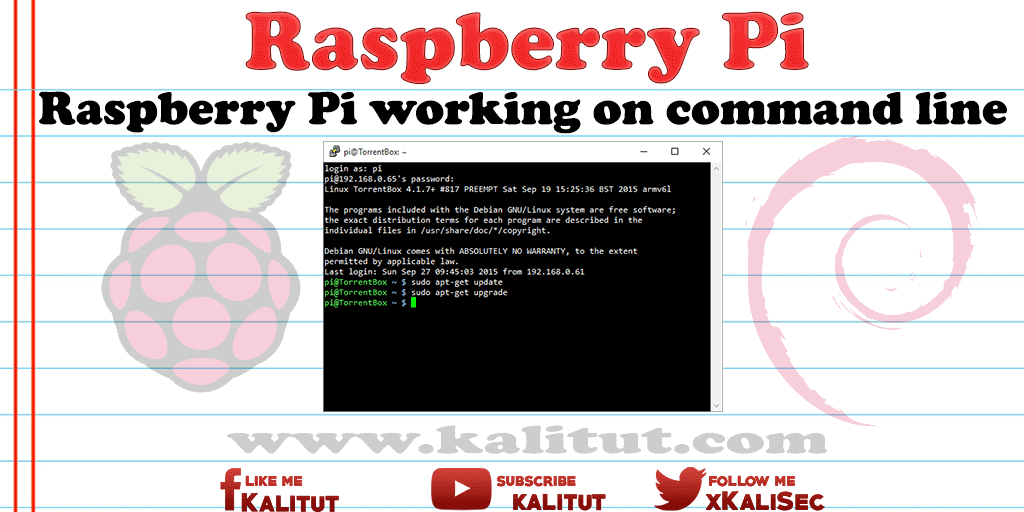
Raspberry Pi beginners have a hard time working with Linux. Especially if you only used Windows before. But Linux is not Windows. Most of it works differently than you would expect from Windows.
Basically everything is file-based in Linux. Therefore, it is often necessary to change settings in files on the command line to customize the system according to your own ideas. Some things can be done with the graphical user interface. but today we will be learning raspberry pi commands

The more intensively you work with Linux and the more specific the requirements, the more likely the terminal or the command line is a must. At some point you can no longer avoid the command line. But you do not have to be afraid of that.
There’s certainly a lot you need to know about Raspberry Pi and Linux. Because each user has previous experience, the following explanations are just a selection to help you get started with the Raspbian Linux distribution on and off the command line.
First steps
- First boot of a Raspberry Pi
- Getting started with the installation and configuration of a Raspberry Pi
- Update operating system and software of Raspberry Pi
most importation Raspberry pi commands
- Switch between several command lines
- Switch to “root”
- Basics of file management
- Handling drives
- Create alias
- Shut down properly and restart
Switch between several command lines
If you have a graphical user interface, then you can open multiple terminal windows or tabs and work in parallel with multiple commands and outputs. The same can be done if you do not have a graphical user interface. By default, there are several terminal sessions, which you can switch between by key combination.
- Ctrl + Alt + F2
- Ctrl + Alt + F3
- Ctrl + Alt + F4
- Ctrl + Alt + F5
- Ctrl + Alt + F6
Note: Not all systems offer multiple terminal sessions.
Switch to “root”
Maybe you have already noticed. Every Linux has a user “root” who is allowed to do everything. This user is not a normal user, but something like a system administrator. In general, you avoid working with this user unless you make system-wide changes. This requires extensive permissions, which only the user “root” has.
As a normal user you can always become “root”.
su -
This will require entering the root password. However, there are systems where the user “root” does not have a password. You can still be “root” here anyway.
sudo -i
Or:
sudo su
Or:
sudo su -
Entering “exit” returns you to the previous user.
But you do not necessarily have to become “root”. Sometimes it is enough to acquire the corresponding “root” permission for a single command. To do this, you put the command line suffix “sudo” before the respective command that you want to execute with “root” rights.
Basics of file management
On the command line, working on files and directories is part of everyday life. To find your way around the directories you need a handful of commands.
Show files and directories in the current directory:
ls
Detailed presentation in the form of a directory listing:
ls -la
Show path to current directory:
pwd
Switch to a specific directory:
cd /home/pi
Go to the directory higher (from “/ home / pi” to “/ home”):
cd ..
Change to a directory of the current directory (from “/ home” to “/ home / pi”):
cd pi
Create an empty file in the current directory:
touch test
Display content of a text file:
cat test
Delete file:
rm test
List all files and directories in a specific path:
ls /tmp/
Delete directory with all files:
rm -rf /tmp/
If the directory with the current user rights can not be deleted:
sudo rm -rf /tmp/
Create a folder:
mkdir /home/pi/test
Delete folder:
rmdir /home/pi/test
Rename file:
mv test test2
Move file:
mv /home/pi/test2 / home/pi/test
Copy file:
cp /home/pi/test2/ home/pi/test/test2
Download file to the current directory:
wget {URL}
Handling drives
Show all USB devices (including USB memory):
lsusb
Show all partitions:
sudo blkid
Show detailed information about all partitions:
sudo fdisk -l
View drives and partitions and their memory usage:
df
Note: The df command can not safely detect USB memory (especially SD memory cards). If the disk is not mounted (mounted), you will not see it with this command.
Reliably display all volumes, drives, partitions, and file systems:
lsblk

Leave a Reply