The operating system for Raspberry Pi is usually started from an SD card and must first be written to the memory card or installed.

This process is a bit tricky the first time. Although there are SD memory cards to buy on which the operating system is already installed. But it is recommended to try it yourself so that you can renew the system itself in case of doubt.
- More information about SD memory cards for Raspberry Pi
- Linux distributions and operating systems for Raspberry Pi
- Which operating system for Raspberry Pi?
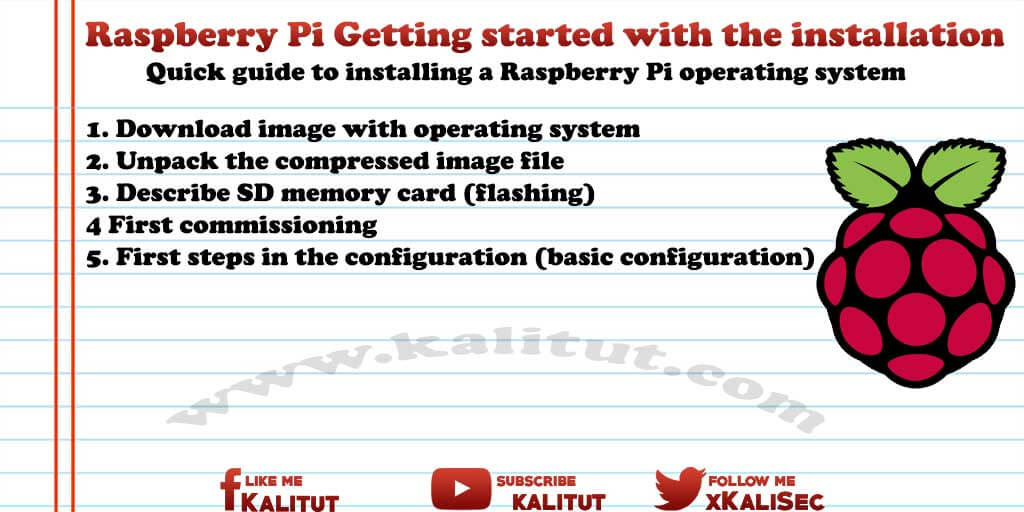
Quick guide to installing a Raspberry Pi operating system
The idea is to write an operating system for Raspberry Pi, for example Raspbian, on an SD memory card (SD or SDHC card). And then put the system into operation and a basic configuration.
- Download operating system image
- Unpack the compressed image file
- Describe SD memory card (flashing)
- First commissioning
- First steps in the configuration (basic configuration)
1. Download image with operating system
First, download the image (IMG or ISO) of an operating system. An image is the copy of a memory image of a drive. In the case of an installed and configured operating system with applications that are stored for duplication in a single file.
If you are dealing with Raspberry Pi for the first time, then choose Raspbian, which can be found on the download page of Raspberry Pi Foundation.
2. Unpack the compressed image file
Typically, the downloaded image is a compressed ZIP file. You can not do anything with that yet. Therefore you have to unpack the file after the download. However, some operating systems do not understand the size of the file, which is why Raspberry Pi starts up with strange problems, the causes of which can not be clearly identified.
Therefore, the programs “7ZIP” for Windows and “The Unarchiver” for macOS are recommended to unpack an image file without errors.
3. Describe the SD memory card (flashing)
Only now is it necessary to write the contents of the image file (IMG or ISO) on a suitable medium. Some refer to the process as flashing.
In order to read and write to an SD card, a memory card reader is required. Either integrated into the PC, the notebook or you have an external memory card reader for the USB port.
Note: An image is a complete image, that is, a 1: 1 copy of one or more partitions with a file system. Uploading an image already formats the SD card. And in the format of the image. Therefore, formatting the memory card in advance is useless and unnecessary. A “hurt not” is wrong because each write operation, and the formatting, the memory cells of the memory card unnecessary stress, which shortens the life of the card.
The only exception: NOOBS. Since you play no image, but unpacks individual files and copies them to the SD card. The memory card must be formatted here.
Depending on the operating system on which you want to describe the memory card, use either “Win32DiskImager” for Windows, “ApplePi-Baker” for macOS, “Drives” for Linux or the dd command for Linux and macOS. All programs make it possible to write the image of an operating system on a memory card.
- Installing Raspbian on an SD Memory Card (Windows)
- Install Raspbian on an SD memory card (Linux or macOS)
The image creates two partitions on the memory card. One in Windows compatible FAT32 format, the other in Linux format.
Note: If you want to look at the partitions under Windows after writing to the memory card, you will only see one drive or a partition which is quite small (about 50 MByte). This is the boot partition containing the firmware for Raspberry Pi and the bootloader. The other partition in Linux format does not dominate Windows. Windows can only display this partition.
If the memory card has been written successfully, then the memory card is rejected from the system and can be removed from the card reader.
4. First commissioning
As a rule, a Raspberry Pi will be used for the first time with a screen and keyboard. Alternatively, you can omit any peripherals and put Raspberry Pi “headless” into operation.
5. First steps in the configuration (basic configuration)
After the initial start-up of Raspberry Pi you should make a basic configuration before going into possible installations and configurations.
This includes the configuration of language, character set, time zone and a German keyboard layout.

Leave a Reply