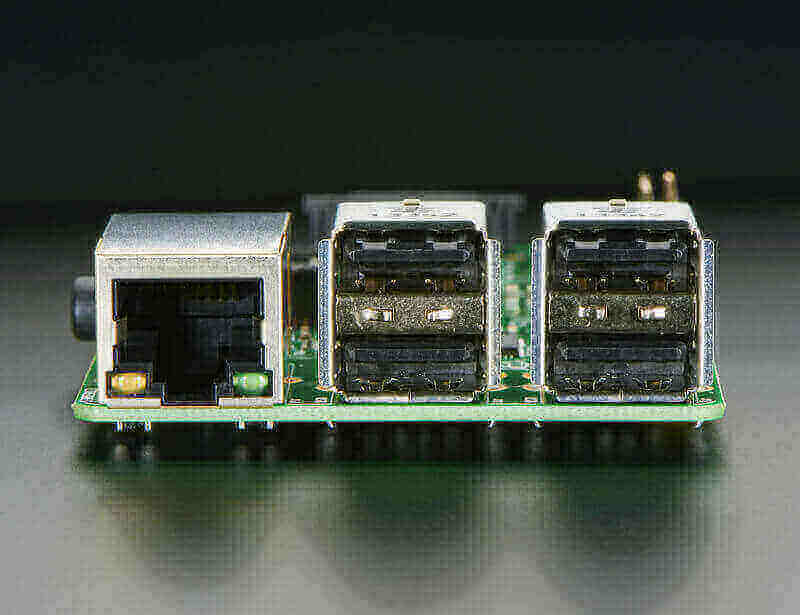
how to increase Raspberry Pi USB current limit
As is well known, USB devices are powered almost without exception via the USB to whose host they are connected. No matter whether USB hard disk, USB stick, WLAN adapter, mouse or keyboard. When taking power, these devices are sometimes quite relentless, which is no problem at the USB ports of a standard PC. Officially, USB 1.1 only allows 100 mA and USB 2.0 only 500 mA. Despite these limitations, the motherboard manufacturers are not the nakedness to install weak USB ports. In practice, USB devices can draw significantly more than 100 or 500 mA.

On a Raspberry Pi, powering through the USB ports is a tricky business. If mouse and keyboard and maybe even one or the other USB stick is connected, then that’s no problem. But if you work with external hard drives or power-hungry Wi-Fi adapters, then the power supply of Raspberry Pi breaks down. But this has not directly to do with Raspberry Pi, but with its power supply from a wall adapter, which is often a charger and not just a real power supply.
This is quickly overwhelmed quickly with the considerable current drain of several USB devices. For this reason, it is generally recommended that USB devices be connected to Raspberry Pi via an active USB hub. An active USB hub has its own power supply
From Raspberry Pi model B +, the power supply is much more stable, especially via the USB for external devices. The B + model also introduced a parameter that controls how much power USB devices are allowed to pull out of the USB port.
By default, the total current from the USB ports is limited to 600 mA. This limit is there, so that the Raspberry Pi does not become unstable in a power-hungry USB device and shuts off. It will then shut off only the USB.
Overall, Raspberry Pi is allowed to pass 1.2A (1200mA) to the USB devices when the limit is lifted. But that only makes sense if the power supply is also powerful enough.
To increase the current limit from 600 mA to 1200 mA, a corresponding boot parameter must be set.
To do this, open the file with the boot configuration:
sudo nano /boot/config.txt
Here you enter the following line (old firmware):
safe_mode_gpio = 4
Here you enter the following line (current firmware):
max_usb_current = 1
Then save and close the file: Ctrl + O, Return, Ctrl + X.
For the boot parameter to take effect, the system must be restarted.
More information about USB:

max_usb_current has no effect. it is enabled by default and cannot be turned off.
source: https://github.com/raspberrypi/documentation/issues/1655