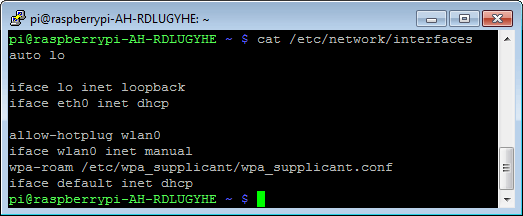
The network interface for Ethernet and WiFi have changed their name since Raspbian Stretch. So no longer “eth0” and “wlan0”, but “enx …” and “wlx …”. However, this only affects interfaces connected via USB. The integrated WiFi from Raspberry Pi 3 B is not one of them. The interface name is formed on USB devices via the MAC address, which is then different and unnecessarily long for each system. Also, many tutorials and tutorials will not work anymore.

There are three ways to get short and fixed interface names:
- Kernel parameters
- Mask the UDEV standard policy
- Define your own names with systemd.link
Solution 1: Kernel parameters
To return to the old and familiar terms, simply add a kernel parameter that will be considered at system startup. For this one must supplement a configuration file.
sudo nano /boot/cmdline.txt
Insert at the end of the line with a leading space:
net.ifnames = 0
Save, close and restart the system.
Solution 2: Mask the UDEV standard policy
The simplest but also unclean variant is to mask the file with the UDEV standard policy. The UDEV policy deactivates the original assignment of the usual fixed interface names.
ln -s / dev / null /etc/systemd/network/99-default.link
For the change to take effect, the system must be restarted.
Note: Here the network interfaces get unpredictable names. By this is meant that the terms “wlan0”, “wlan1”, etc. are randomly assigned to the network adapter.
Solution 3: Set your own names with systemd.link
The right option is to define your own names. This has the disadvantage that you have to deal a little more intensively with the interface configuration. The advantage, one can define own fixed names for the network interfaces. But if you only ever use an Ethernet and WLAN interface in Raspberry Pi, solution 1 would be preferable.

Leave a Reply